


Application Security Groups (ASGs) provide several benefits for Azure Virtual Machines (VMs), including:
- Simplified network security: ASGs enable you to group VMs based on their function or role, making it easier to apply network security rules to entire groups of VMs instead of individual VMs. This reduces complexity and minimizes the risk of misconfiguration.
- Enhanced visibility: By grouping VMs based on their function or role, ASGs provide better visibility into network traffic. This makes it easier to monitor and analyze network traffic and identify potential security threats.
- Improved scalability: ASGs enable you to easily scale your network security rules as your VMs scale up or down. You can simply add or remove VMs from the appropriate ASG, and the network security rules will be automatically applied.
- Increased agility: ASGs enable you to quickly and easily make changes to network security rules and configurations, allowing you to adapt to changing business needs and security threats.
- Reduced cost: ASGs can help reduce costs by simplifying network security management and reducing the risk of misconfiguration. This can lead to fewer security incidents and lower operational costs.
- Overall, ASGs are a powerful tool for improving network security and simplifying network management for Azure VMs. By grouping VMs into logical application tiers, you can reduce complexity, improve visibility, increase agility, and maintain a high level of security.
In this lab, we will create and implement an ASG for some pre-configured network resources. To do so, we will create an application security group, associate it with an existing virtual machine, and configure security rules within an existing network security group.
Create an Application Security Group
Please take note of our resources’ region, as we will need to use the same region in the following steps. For example, we’ll be using West US.
We also need to check which region our resources are from. To do so, select All resources and check the location column. For our example, we are in West US.
Create an Application Security Group by completing the following:
- Click on the + Create a resource option.
- Search for “application security group”.
- Choose the application security group option.
- Click Create.
- Create the application security group with the following settings:

- Subscription: Select the existing subscription.
- Resource group: Select the existing resource group.
- Name: Enter webtaki-asg.
- Region: Select the region in use for your existing resources. For our example, we’re using
West US.
- Click on Review + create

Associate WEBVM1 with the Application Security Group
Next, we need to associate our WEBVM1 with the application security group that we just created:
- Click on Virtual machines option.
- Select the provided virtual machine.
- Click on Networking.
- Choose the Application security groups.
- From the dropdown that appears, select the security group that we created.
- Select Save.


Update the Network Security Group to use the Application Security Group
Update the Network Security Group to use the Application Security Group:
- Navigate to the network security group, mine is
shared-nsg, which I have created before. You have to create your own NSG. - Click on Inbound security rules in the Settings section of the resource menu on the left-hand side.
- Click on the existing rule,
allow_rdp_webservers, within the working pane (middle of the screen). - Set the Destination to be our Application security group.
- Select
webvms-asg, which you created in a previous objective, for the Destination application security group. - Click Save.

Check the Connection
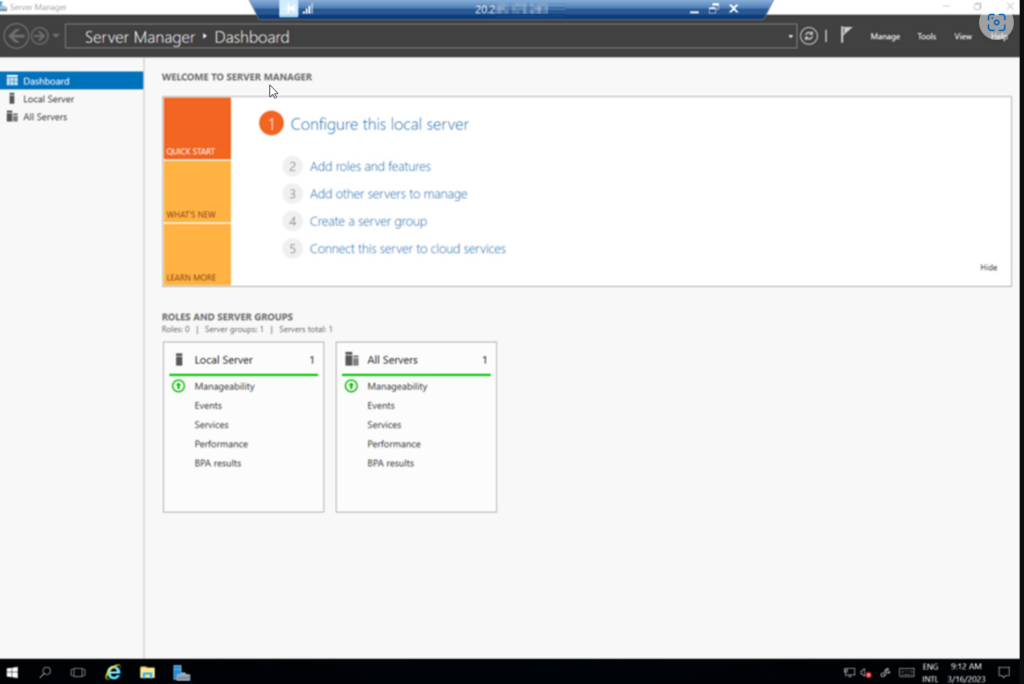
You may now choose to verify that the network security group is working as expected by connecting to webvm1 using RDP.
To do so:
- Navigate back to our virtual machine and, once selected, copy the Public IP address using the Copy button.
- Use an RDP client from your computer, and connect via the IP address we copied.
- Log in with your credentials.


Once we log in, we’ll know that our NSG works.
Conclusion
We have successfully configured Application Security Groups in Azure to enhance the security of Remote Desktop Protocol (RDP). By implementing these security measures, we can manage access to RDP in a more granular way and minimize potential security risks. The use of Application Security Groups allows us to organize groups of virtual machines and easily apply security rules based on the function or purpose of the virtual machines. This contributes to better security for our Azure infrastructure and helps us remain compliant with security standards and best practices.
Discover more from Blogs | Saied Taki
Subscribe to get the latest posts sent to your email.