

Introduction
Email security is more important than ever—especially when sharing sensitive data. In this blog, you’ll learn how to configure Microsoft 365 Message Encryption using the Exchange admin center. This feature enables organizations to protect confidential information and securely communicate with both internal and external recipients—even those using services like Gmail or Outlook.com.
Encryption Method Used in This Guide:
We’re using Microsoft Purview Message Encryption (OME), which leverages Azure Rights Management Services and AES-256 encryption to protect messages across internal and external recipients.
Why it matters:
Message Encryption empowers organizations to secure sensitive communications both inside and outside their network. Here are some key benefits:
- Define and manage encryption rules with built-in compliance monitoring.
- Encrypt messages automatically based on keywords, domains, or policie
- External recipients can read encrypted messages — no Microsoft 365 account needed.
- Support regulatory and business requirements with seamless policy enforcement.
- Access encrypted content from any device.
- Microsoft 365 uses TLS to protect data in transit, Purview Message Encryption protects the message itself — even after delivery
What You’ll Do
This guide walks you through:
- Creating a mail flow rule to apply message encryption
- Testing the encryption by sending an email to an external address
📌 Important Notes
- This lab demonstrates policy-based encryption — users do not manually choose encryption settings.
- Once the mail flow rule is active, encryption is enforced automatically based on message content.
- This ensures consistent protection across your organization.
Architecture diagram
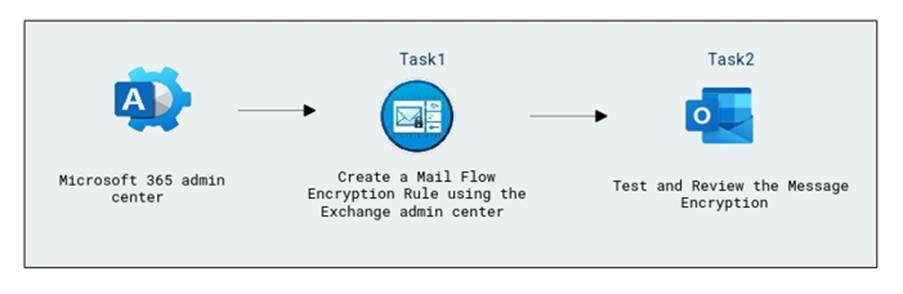
Set Up Email Encryption in the Exchange Admin Center
To start, you’ll create a mail flow rule that automatically encrypts emails containing specific keywords.
Open the Microsoft 365 admin center and go to Admin centers > Exchange.
In the Exchange admin center, navigate to:
Mail flow > Rules > + Add a rule > Apply Office 365 Message Encryption and rights protection to messages

On the Set rule conditions window, in the Name box, enter Encrypt mail as the name of this rule.

Select the drop-down arrow in the Apply this rule if (1) condition box. In the drop-down menu, select The subject or body (2) and from the Select one (3) drop-down, select the subject or body includes any of these words (4). On Specify words or phrases window provide Encrypted Document (5) in the box, and click on Add (6) > save (7).


Back on On the Set rule conditions window, you need to define an action to perform when this rule is applied. Under Do the following, ensure Modify the message security. and Apply Office 365 Message Encryption and rights protection is selected then click on select one link and on select RMS template dialog box, select Encrypt > Save.


Back on the Set rule conditions window, click Next.

On the Set rule settings window, ensure Role mode is select as Enforce, then select Severity as Medium and click the checkbox next to Activate this rule on. That should automatically populate a date and time that will make the rule take effect immediately upon completion, click Next

Click Finish > Done.
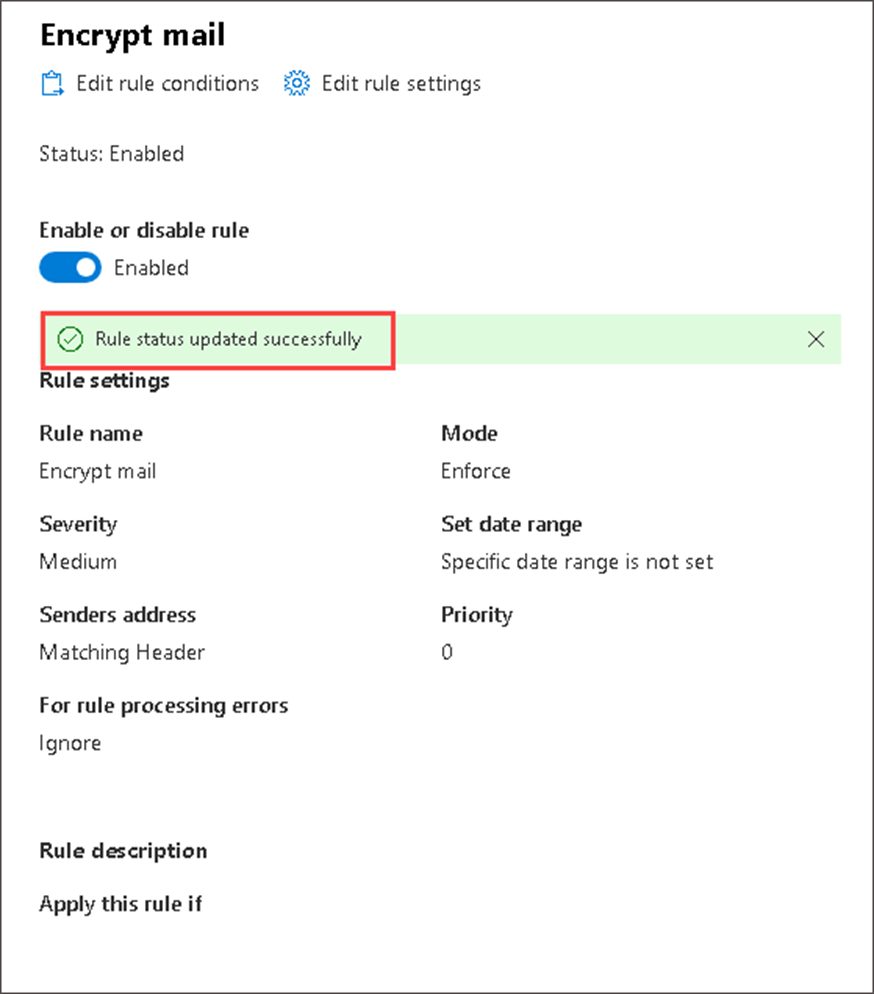
In the Rules window, click the name of the rule under the Rules column. In the window that opens to the right, click the toggle under Enable or disable rule to Enable the rule.

Please wait until you see the Rule status updated successfully message, then you can close the window.
Test and Review the Message Encryption
Once the rule is active, send a test email to verify it works as expected.
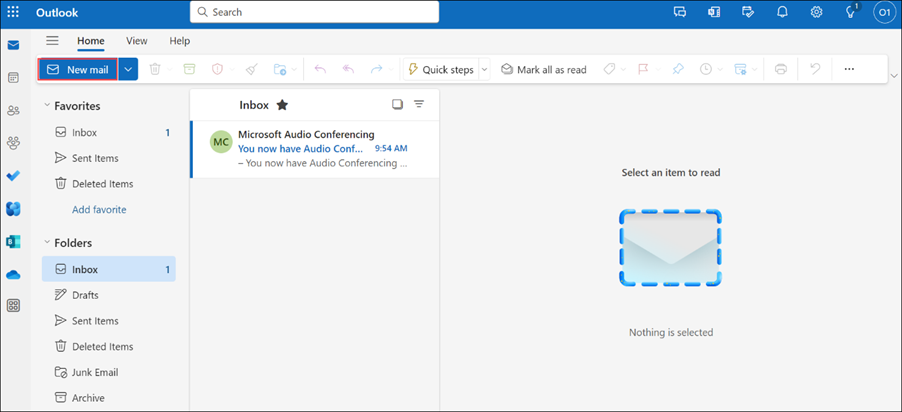
On the Outlook Choose New Email from the upper-left corner.
Specify the following details.
| Settings | Values |
| To | Enter your Personal Email (1) address |
| Subject | Encrypted Document (2) |
| Boby | This Email contains Encrypted Document to safeguard sensitive information. (3) |

💡 Note: You don’t need to manually select Encrypt in Outlook. The mail flow rule automatically applies encryption when the subject or body contains specific keywords (e.g., “Encrypted Document”) While Microsoft 365 offers manual encryption options (like “Encrypt Only” or “Do Not Forward” in Outlook), this lab demonstrates policy-based encryption, where encryption is enforced automatically through mail flow rules — ensuring users can’t bypass it.

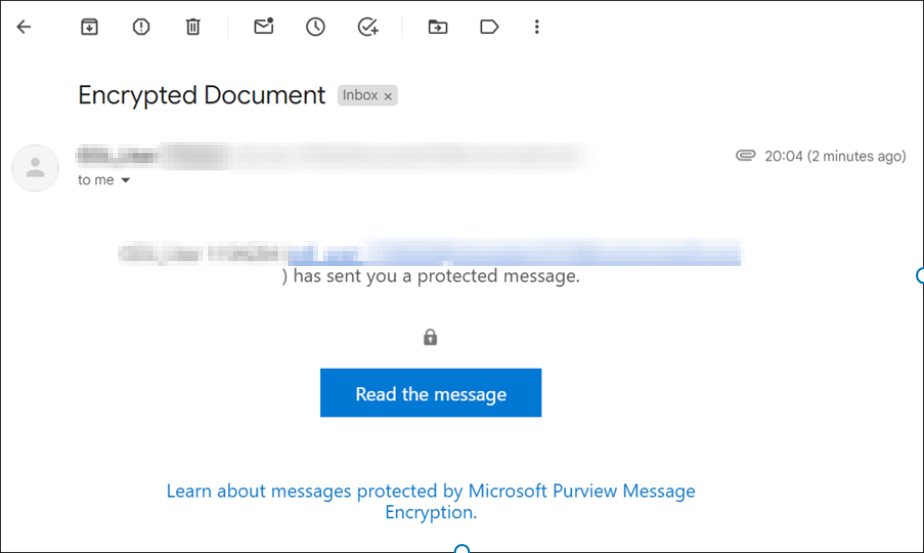
After sending the email, open your personal email account.
Wait for 2-3 minutes after receiving the message, then notice that the received email is encrypted.
To access the email you’ve received, follow the below steps:
If you’re using Outlook.com or Microsoft 365 with new Outlook, Outlook for Mac, Outlook.com, or the Outlook mobile app, you can read and reply to encrypted messages the same way you do with unencrypted messages.
If you’re using a third-party email app, you’ll receive an email message with instructions for how to read the encrypted message. You can gain access using your Microsoft account or your Microsoft 365 account.
Select Read the message.

Click on Sign in with a one-time passcode.

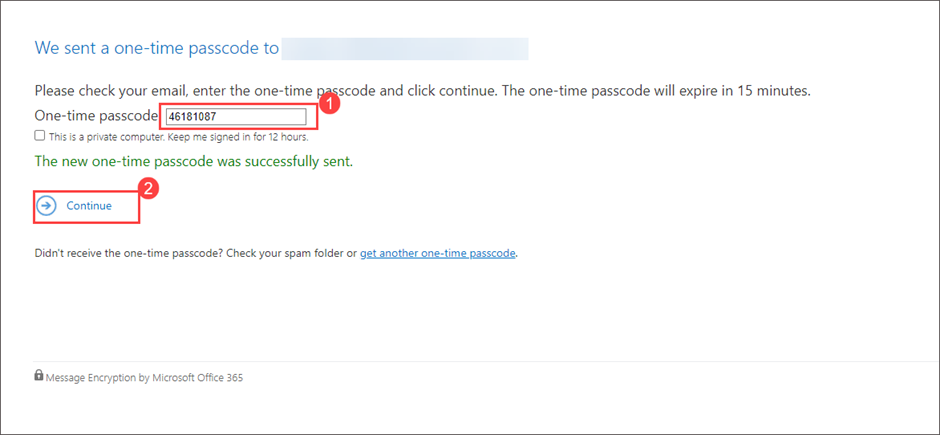
Go to your personal email portal and open the message with the subject Your one-time passcode to view the message and Copy the passcode.
Paste the passcode into the One-time passcode (1) field and select Continue (2).
Review the encrypted message.

✅ Review
In this guide, you’ve successfully:
- Created and activated a mail flow rule that applies Microsoft Purview Message Encryption
- Tested how the encryption is applied to outbound messages
- Verified access controls for recipients using one-time passcodes
Conclusion:
Implementing Message Encryption is a smart move for any organization looking to improve its data protection strategies. It not only protects sensitive information but also streamlines compliance efforts and gives you more control over your email communications.
Whether you’re a system admin, IT professional, or compliance officer, setting up encryption rules ensures your organization stays secure and professional—no matter who you’re communicating with.